|
The interactive rubric is a powerful tool for grading in Blackboard. Before you can use a rubric to grade students, you have to create it. This can be done either from the assignment for which you are creating the rubric, or directly from your course control panel.
Start in the desired course to build a rubric. Select rubrics under the Course Tools heading of the control panel.
On the Rubrics page, select ‘Create Rubric’.
This opens the ‘Create Rubric Page’. You can then design your rubric.
Assignments, test questions, discussions, and nearly every other type of graded Scholar content item can have rubrics attached. Those rubrics can be created from the Add Rubric menu within the content item. Simply create the content item, click Add Rubric, and choose Create New Rubric.
You can then design your rubric.
However you get to the rubric page, the creation process is the same.
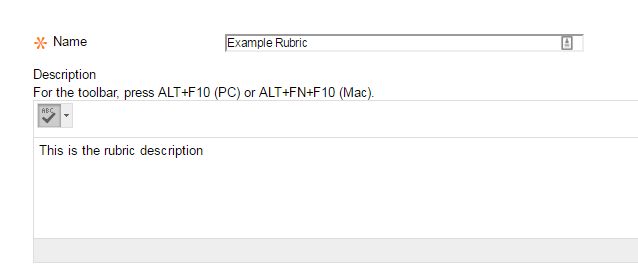
In the first section you must provide a name for the rubric and have the option of providing a description as well. Note the description can be spell checked.
The Rubric Detail area is where the essential components of the rubric are created.
The top of this section allows you to add rows and columns to the rubric. The default number or rows and columns is 3. Click ‘Add Row’ to get the number of criteria you intend to score on the rubric and ‘Add Column’ to get the number of grade categories you intend to use.
Use the ‘Rubric Type’ pull down menu to select different scoring options. You can also opt whether or not to show Criteria Weight when using percent scoring.
In addition to Percent, you can choose the following types:
Once you’ve established the number of rows and columns needed and selected your scoring style you’ll need to edit the names of your columns and rows and then fill in the proper descriptions of category criteria.
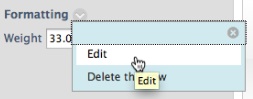
To edit names of rows and columns click on the interactive menu next to the name.
Select Edit.
Type in the name and select save.
You can also reorder the rows and columns.
Click the arrows of the given button,
then select the row or column you wish to move and use the arrows to change that position. To save the adjusted order, click submit inside the pop up Reorder box.
To enter point values for each column (Levels of Achievement), simply type the desired score (range) in the field(s).
Use the corresponding text box for that field to enter the description of the criteria for that criteria and score.
When you’ve finished creating the rubric, click “Submit”. If you created the rubric from the course control panel, you’ll be taken to the rubrics list. If you created it directly from a gradable item, you’ll be taken back to that item and the rubric will be assigned to the item for grading purposes.
See the articles on attaching rubrics to items and grading with rubrics for more information.