|
States indicate the status of your phone, and will display to people who look you up in the directory or on the ShoreTel Client. These states also control two things: call behavior and your voicemail greeting. There are six states that your phone can be in:
Available
In a Meeting
Out of Office
Vacation
Do Not Disturb
Custom
There are separate voicemail greetings and call forwarding instructions for each state. By default, the Available state causes your phone to ring three times before forwarding to your voicemail. All other states immediately forward to your voicemail without ringing your phone.
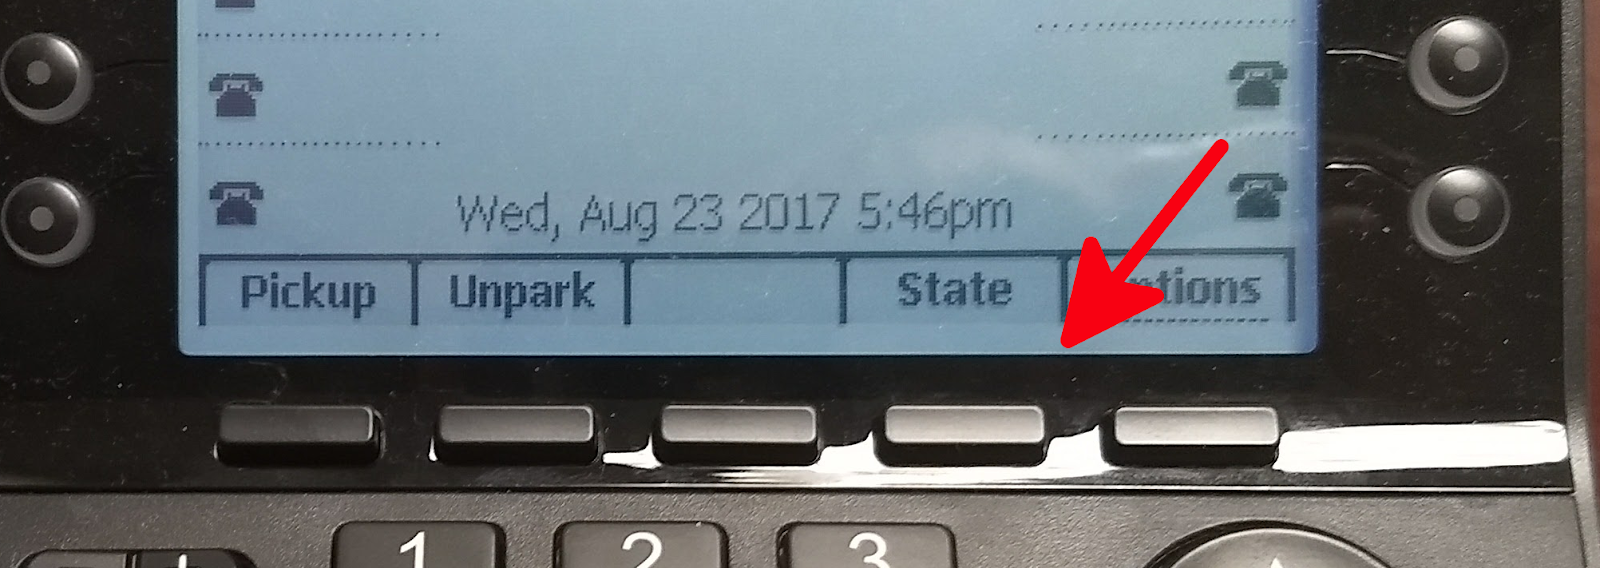
To change the state your phone is in, press the button underneath |State| on your phone.
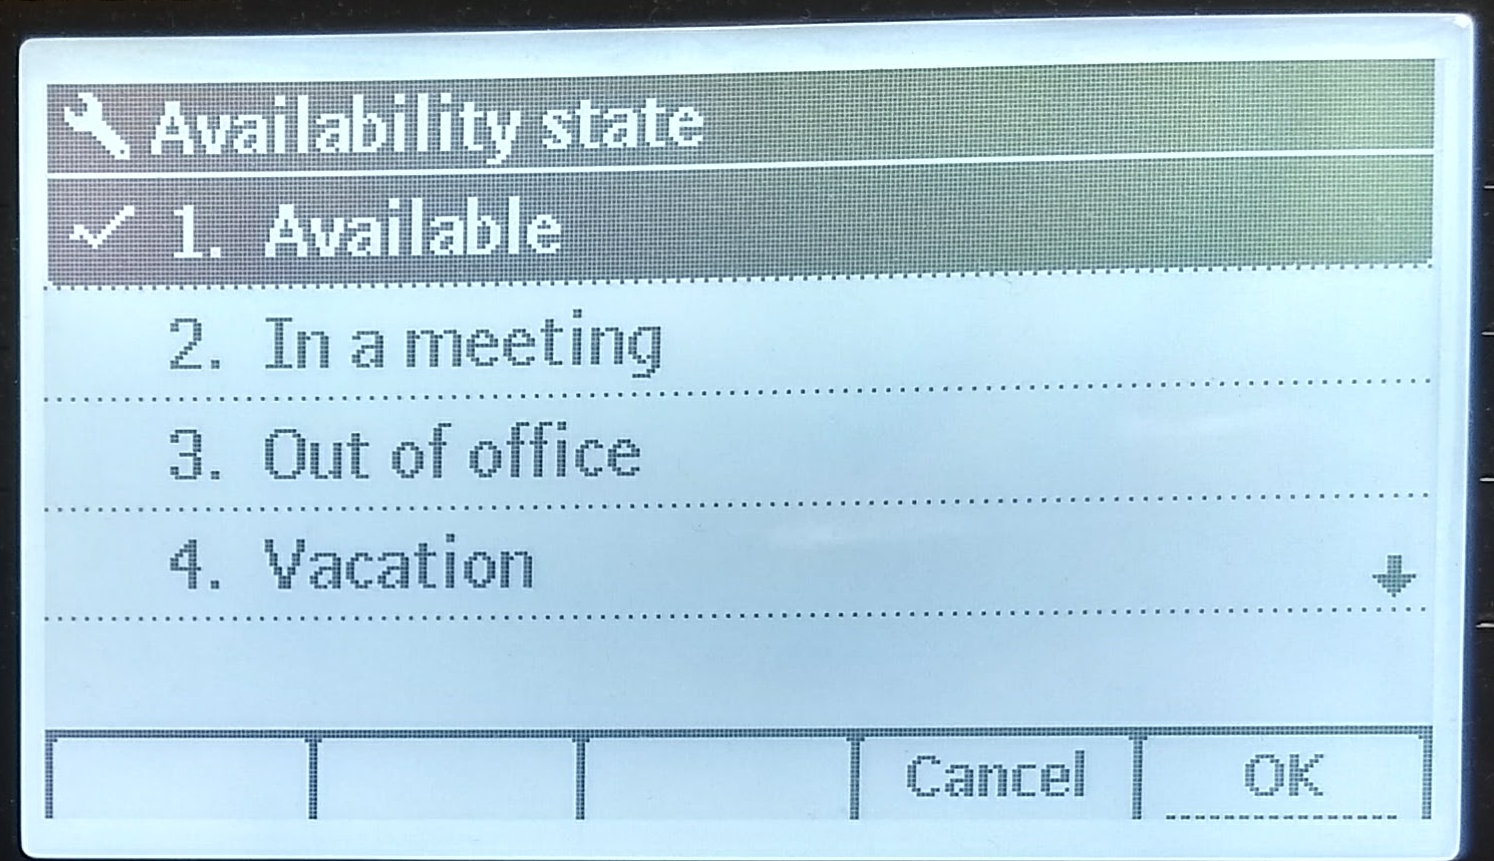
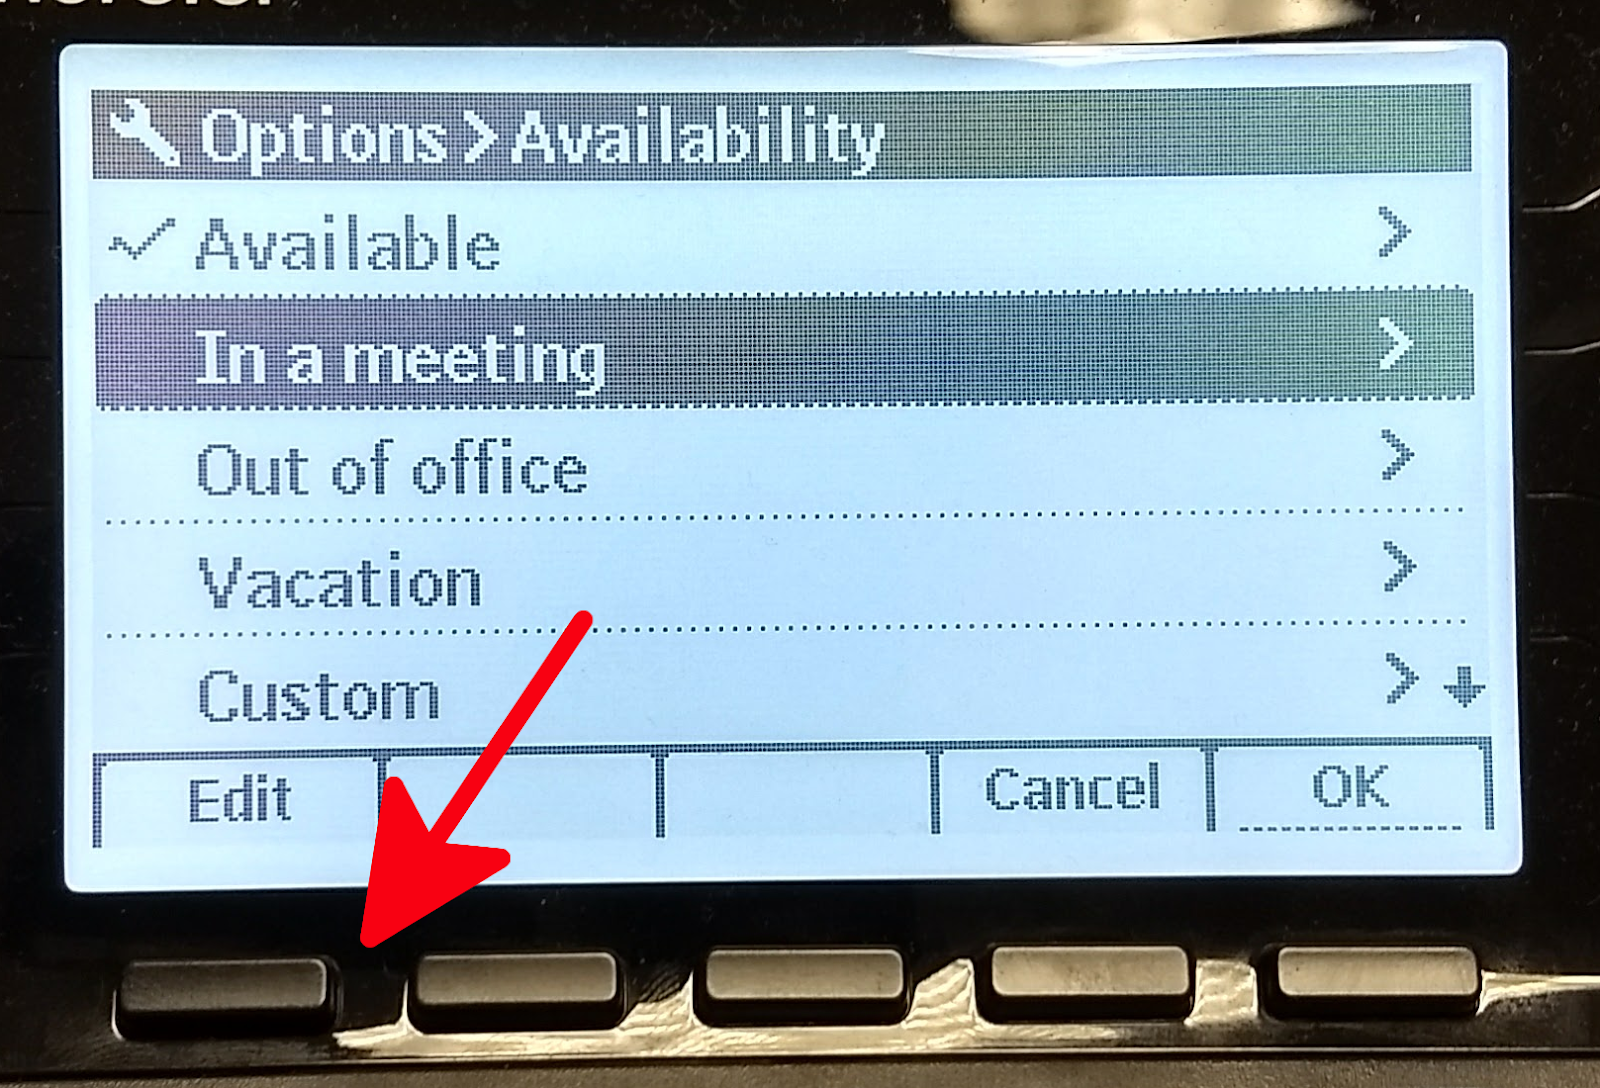
You’ll be brought to a menu of states. Highlight a state with the arrow keys (you can scroll down below the four that appear on the screen) and press either OK or the button in the middle of the arrow keys to select it.
Your phone will then follow the forwarding settings of the state you’ve selected. Don’t be alarmed if the buttons next to the screen light up orange; this just means that you’ve set a state that forwards all calls to your voicemail.
If all you want to do is forward calls to your voicemail, the default setup of the states is all you need. However, you may want to forward your calls to a specific number when you’re in a particular state. This is possible as well.
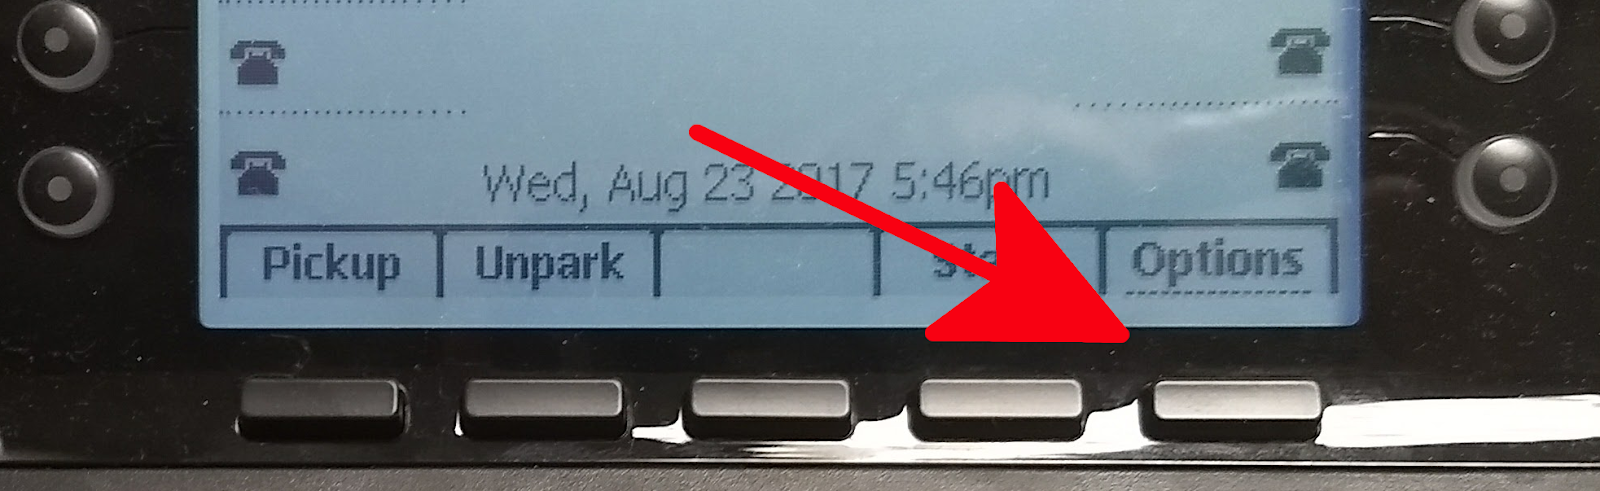
To do so, choose |Options| at the main menu.
You’ll be asked for your voicemail password. Enter it and press |OK|
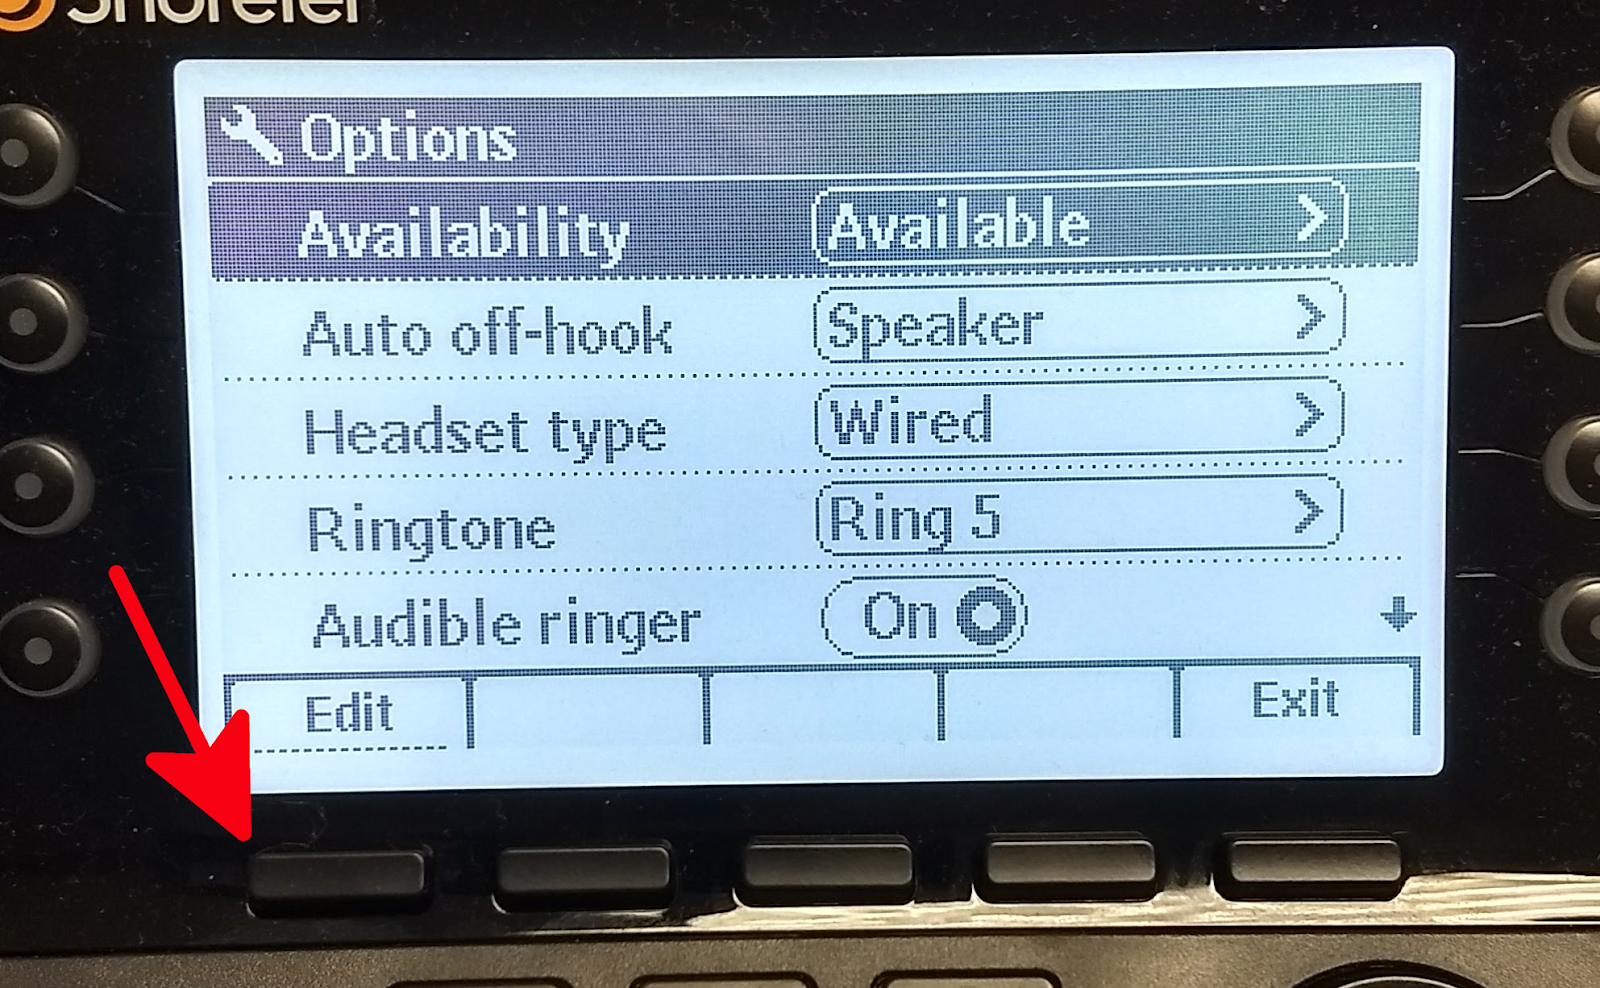
Select Availability and press |Edit|
Choose the state that you’d like to change the forwarding settings for (remember, these settings are unique to each state, and press |Edit| (do not use the button in the middle of the arrow keys; that will simply set your availability state).
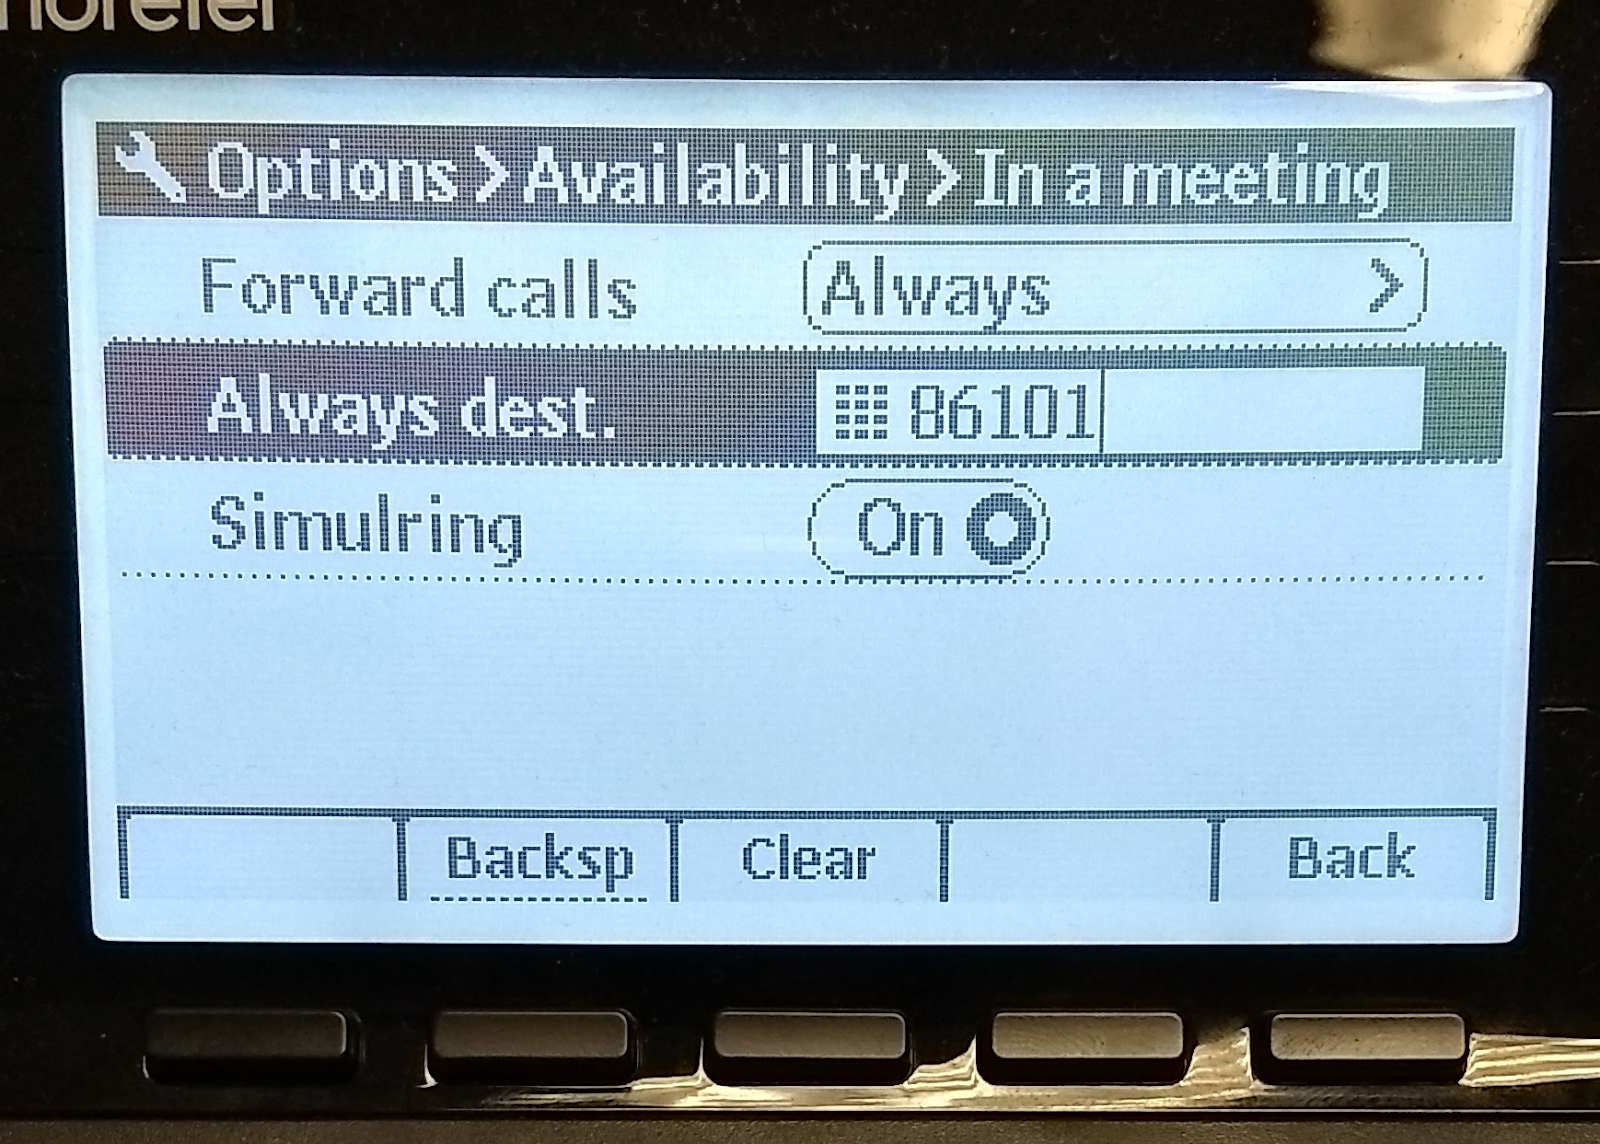
You’ll be brought to a menu with several options for setting up your forwarding.
The first option, Forward Calls, allows you to choose whether and when your calls are forwarded when your phone’s in that state. There are three options:
Always: your phone will automatically forward your calls to your voicemail or another number; it won’t ring.
No Answer: your phone will ring a set number of times, then forward the call to your voicemail or another number.
Never: the call won’t be forwarded to a number or your voicemail; it will continue to ring until you answer or the other party hangs up.
Select the one you want,and click OK
If you’ve chosen Always, the next line down is Always Dest.. If you chose No Answer, it’s No Answer Dest.. Enter the number in the box exactly as you’d dial it on the phone. For example, an on-campus number would begin with a 4 (47079), an off-campus number with a 9 (95947079). To forward to your voicemail, enter 86101.
If you chose No Answer, you can also enter the number of times your phone will ring(from 1 to 20) before the call is forwarded. Additionally, you can set a separate “Busy Dest.,” but keep in mind that will only be called if more than 8 calls are active on your line at any given time.
Once you’re happy with your settings, press |Back|, then either |OK| or |Cancel| and |Exit| to get back to the main screen. Once you’ve done so, you only have to change your phone’s state to activate forwarding.