")
|
There are two ways to access the e-portfolio tool on Scholar. The tool is located in the Tools menu on the left-hand side of the main Scholar page.
If your instructor has enabled it in his or her class, you may also be able to access the tool in the menu for your course. (Note: This is only the case for Original View courses, as Ultra courses do not contain the option for portfolio assignments. )
")
Clicking either button will bring you to the portfolios homepage. You’ll see all portfolios that you’ve created in the center of the window.
To create a new portfolio, navigate to the My Portfolios screen. Click Create Portfolio to create a new portfolio.
")
You’ll be taken to the Create Portfolio screen. Enter a title for your portfolio in the Title field. If you’ve been instructed to use a portfolio template to create your portfolio, click the Select Portfolio Template button. To help you remember what the portfolio is for, you can enter a description in the Description field.
")
There are two checkboxes at the bottom of the screen. The Available checkbox controls whether the people that you share the portfolio with can see the portfolio. Your portfolio is private until you choose to share it, and you’ll have to make it available in order for anyone to see it. For these reasons, we recommend that you check the Available box.
The next box controls whether or not people with access to your portfolio can see others’ comments. If the box is checked, they will not be able to see others’ comments.
When you’re done, click Submit and you’re ready to build your portfolio. You’ll be taken to the main portfolio screen.
First, navigate to the portfolio either by editing an existing portfolio or creating a new one. When you first create a portfolio, you are given the option to take a tutorial. If you haven’t before, the tutorial is a good way to familiarize yourself with the basic functions of the tool. If you have, you can click the “No thanks” link and be taken to the portfolio creation screen.
You have the ability to change all of the text in your portfolio. Any time you see a pencil icon (
At the top of your portfolio, there is a header. If you edit that, the text will appear on each page of your portfolio.
")
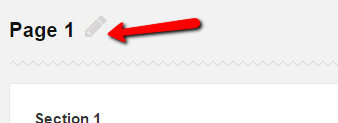
Next, you should give the first page of your portfolio a title. Click the edit link next to the title to change it.
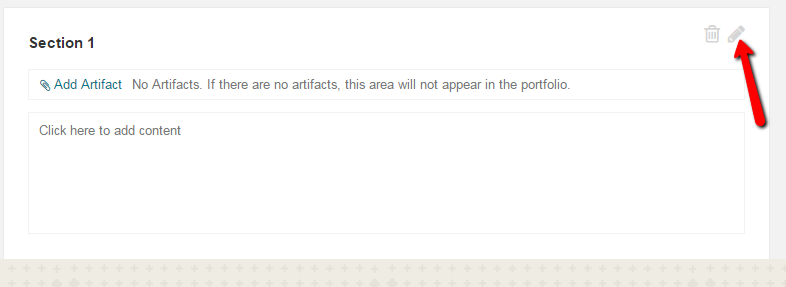
The “Section” is the basic unit of your portfolio. Sections can contain text, Internet links, or embedded content. They also serve as holders for “artifacts,” which are documents that you’ve either submitted in one of your classes, or uploaded directly to the system.
Click the edit icon next to the section to give it a title and add text.
The true power of the portfolio is in the fact that you can add “Artifacts” or documents either from your courses or by uploading them. To do either, click on Add Artifact.
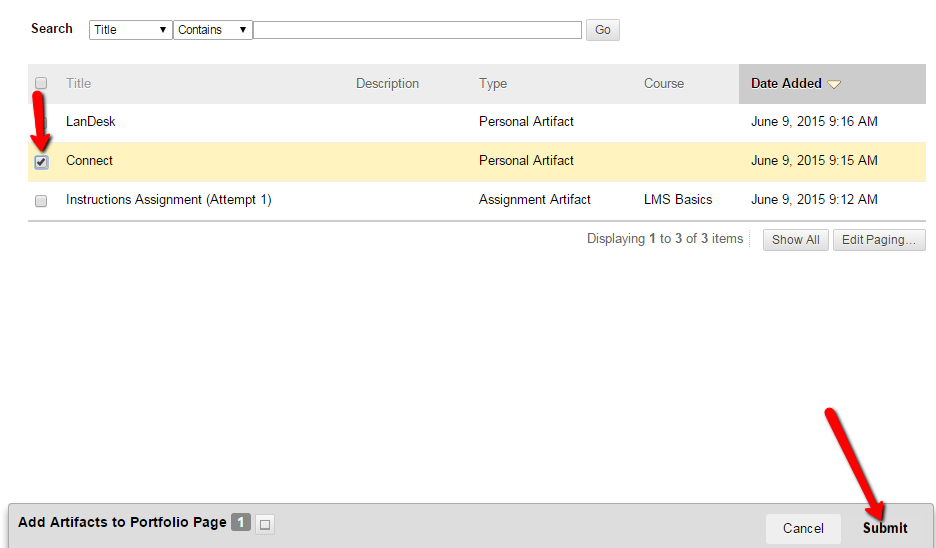
A list of all of the artifacts that you’ve added to any portfolio will be displayed. If the artifact that you’d like to attach is in the list, simply check the box next to the artifact and click “Submit”.
A screen with all of your courses will appear. Select your course on the left, and the artifact on the right. Then, click submit.
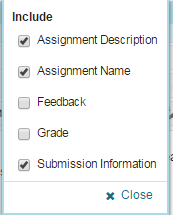
You’ll be given the option to include various options about the assignment. Check the boxes next to the information that you’d like to include. Then click Close. Your assignment will be retained in your portfolio even if the assignment is deleted from the original course or the entire course is deleted.
You may also include items that were not uploaded to a class. To do so, you’d click Add Personal Artifact.
")
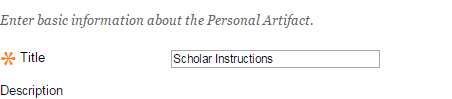
You’ll be taken to the Add Artifact screen. Enter a title for the artifact in the Title field.
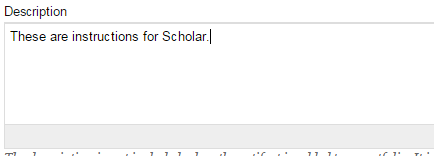
Text in the description box is not included in your portfolio. It’s simply there to help you find it from the artifact list.
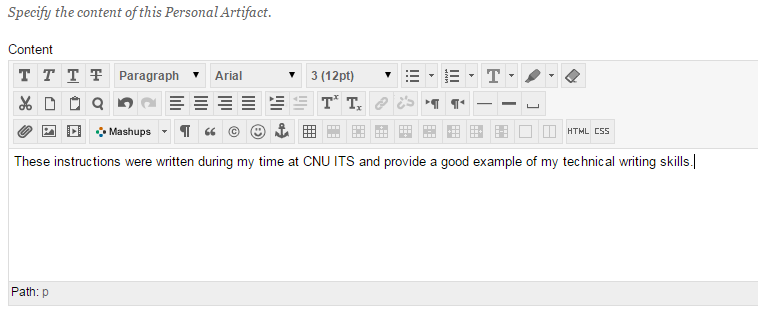
You can then add text or embedded items from the Internet to the artifact in the Content section. This will be visible to people viewing your portfolio.
Below that, you can attach a file.
Click Submit, and the artifact will be added to your portfolio.
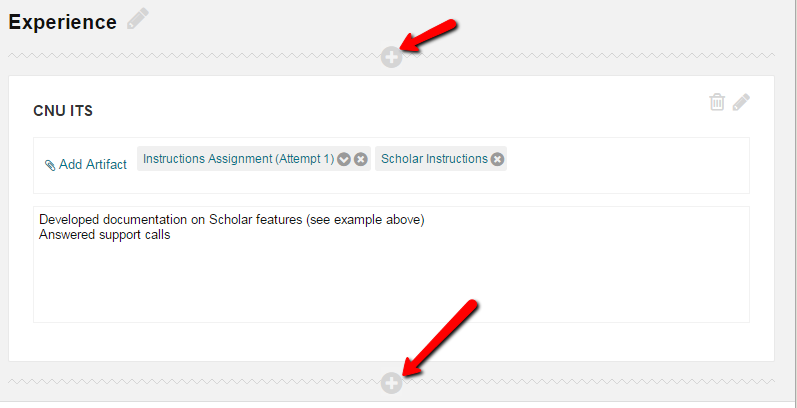
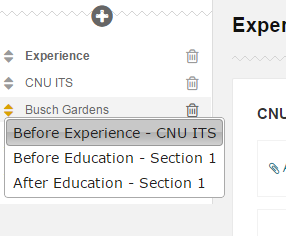
To add additional sections to your portfolio, click on the plus sign above or below the current section.
You can also add additional pages to your portfolio by clicking on the plus sign above the pages.
You can move pages or sections up or down by clicking on the arrows (
You can preview how your portfolio will look when shared by clicking on the Preview and Customize button.
")
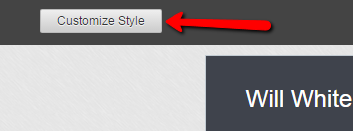
That will bring up a preview of your portfolio. To change the look of your portfolio, click the Customize Style button.
You’ll then be able to change the layout and color scheme of the portfolio.
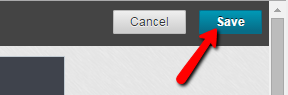
When you’re done, click Save
Close the tab or click the close button to return to your portfolio. To return to the portfolios screen, click Done Editing. Make sure to save any work that you’ve started; anything you don’t save will be lost when you leave the screen.
")