To export your course in Scholar, choose Export/Archive Course from the Packages and Utilities menu.

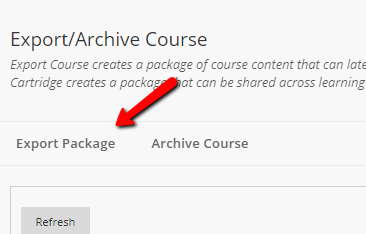
On the screen that comes up, click the Export Package button.
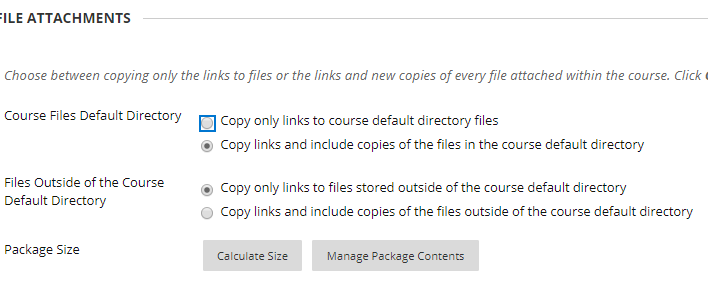
You’ll be brought to the Export Course screen. The first thing that you’ll see is the File Attachments section. Here, you’ll need to decide whether to include the content files (word documents, PDFs, pictures, etc) in the export, or simply to create links to them in the original class. You should always choose to “Copy links and include copies of the file” for items in the course. Your choice on whether or not to include copies of files outside of the course depend on whether you plan to use this export at another institution or far in the future when the work may have been deleted. Otherwise, you can accept either choice for files outside of the course directory.
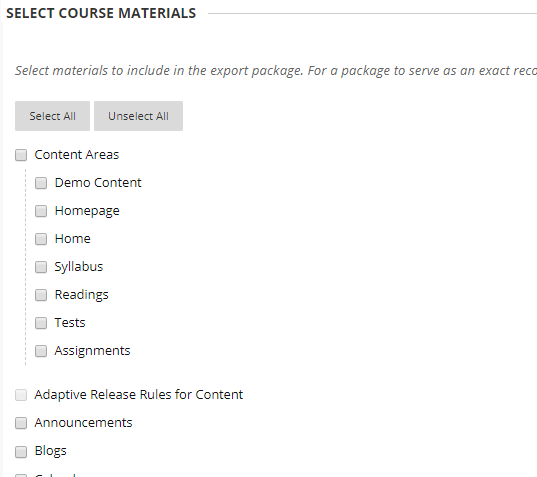
Further down the page, you can the material you wish to keep for use in future courses. Do not check the Adaptive Release Rules for Content box due to the likelihood of locking all student out of assignments.
If the course that you are exporting is older than May 2019, you SHOULD UNCHECK NAVIGATION SETTINGS. Failure to do so may result in your course retaining some of the old theme coloring, and appearing broken.

If you want to export an assignment, make sure that you include both the content area through which students access an assignment and “Grade Center Columns and Settings”. For Tests, you must include “Tests, Surveys and Pools”, “Grade Center Columns and Settings”, and the content area in which students can take the test.
Once your selections have been made, click on Submit. You will get a message in a green bar at the top of your page, informing you that you will receive an email when the process is complete. This may take some time.
After you receive that email you can return to the Export/Archive Course page. This time you will see a file on the page.
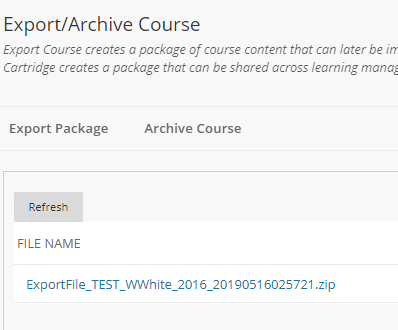
This is the Blackboard zip file you should save for future use.
Click directly on the file name, and you will be prompted to save your download. Do not open or unzip this file or you will not be able to restore it. As Safari automatically unzips zipped files, you should use Chrome or Firefox to download these files.
Save the download in a folder on your computer or to your Google Drive.
Importing Exported Materials
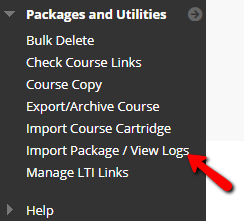
To import your exported course into a new one, navigate to the course that you want to import into. Then, click Import Packages/View Logs on the Packages and Utilities menu.
You’ll then be brought to the Import Package/View Logs screen. Click Import Package.

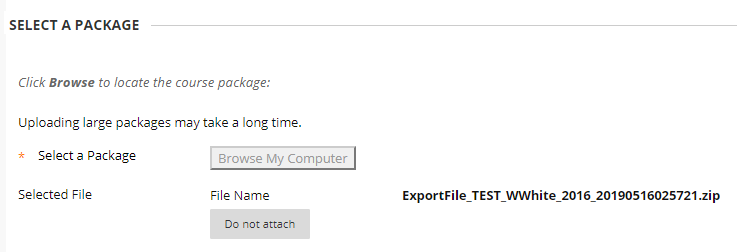
Use the browse button to find the zip file on your computer and select that file.

The file should then be listed in the window under the browse button.
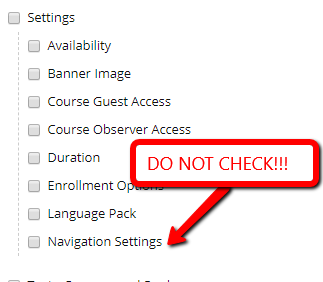
Select the areas of the package you wish to import into the new course shell.

If the export file was created before May 2019, you’ll need to UNCHECK NAVIGATION SETTINGS. Failure to do so can bring over the old look-and-feel, and make your course appear broken.
Hit 'submit'. You will get a message in the bar at the top of the screen stating that an email will be sent when the process is complete. After receiving that email, your content will be imported into the course. The organization of content areas, some Grade Center columns, and other cosmetic aspects of your course may need some correction, so double-check them after importing.