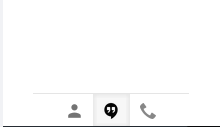
The Gmail chat/call functions have been replaced by Google Hangouts functionality, shown by a set of tool buttons at the bottom of the right-hand-sidebar allowing to you view your Hangouts contacts or access your Hangouts chat conversations This is designed to streamline app-to-app communication while allowing you the same level of access to familiar functions.
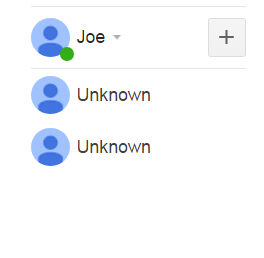
Selecting the Contacts Icon () will display any contacts you currently have saved in Google Hangouts, topped by your own name. Clicking on the plus icon next to your name will open a field allowing you to search for new contacts. Left-clicking on an existing contact will open up a chatbox for communicating with the contact, while right-clicking will open a dropdown menu allowing you to start a video call with or send an email to the contact.
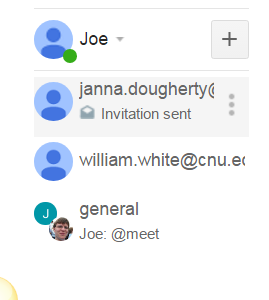
Selecting the Conversations icon () will display a list of any conversations made in Hangouts. This includes both group and individual conversations, and functions similarly to the Contacts field.
Chatboxes will appear along the bottom of your Gmail window. These windows can be minimized or closed at will without permanently exiting the conversation, allowing you to retain long-term conversation spaces. You can also add more participants, convert the chat into a video call, or alter the settings of the conversation from this box.

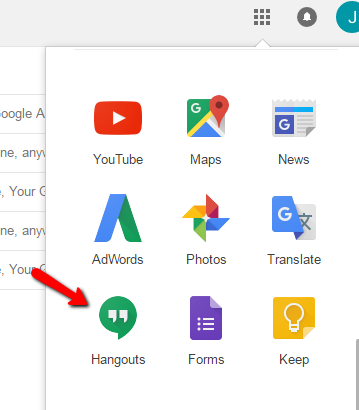
The full Google Hangouts app can be found by opening up the list of apps available to you, which can be done by clicking the nine-dot square near your name icon. The Hangouts app may not be on the first page; you may have to click ‘More’ in order to locate the application.
The opening page will include options to directly start a phone or video call, or to send a message to one or a group of recipients. These options are also shown on a sidebar, along with a list of anyone listed as a Hangouts contact.

Text conversations are stored in the Conversations section on the left-hand-side, and take the form of text conversations between you and anyone else added to the conversation. Conversations will be visible when you click the group having the conversation by popping up on the right-hand-side of the window; this includes any conversations started from within the Gmail extension of Hangouts.
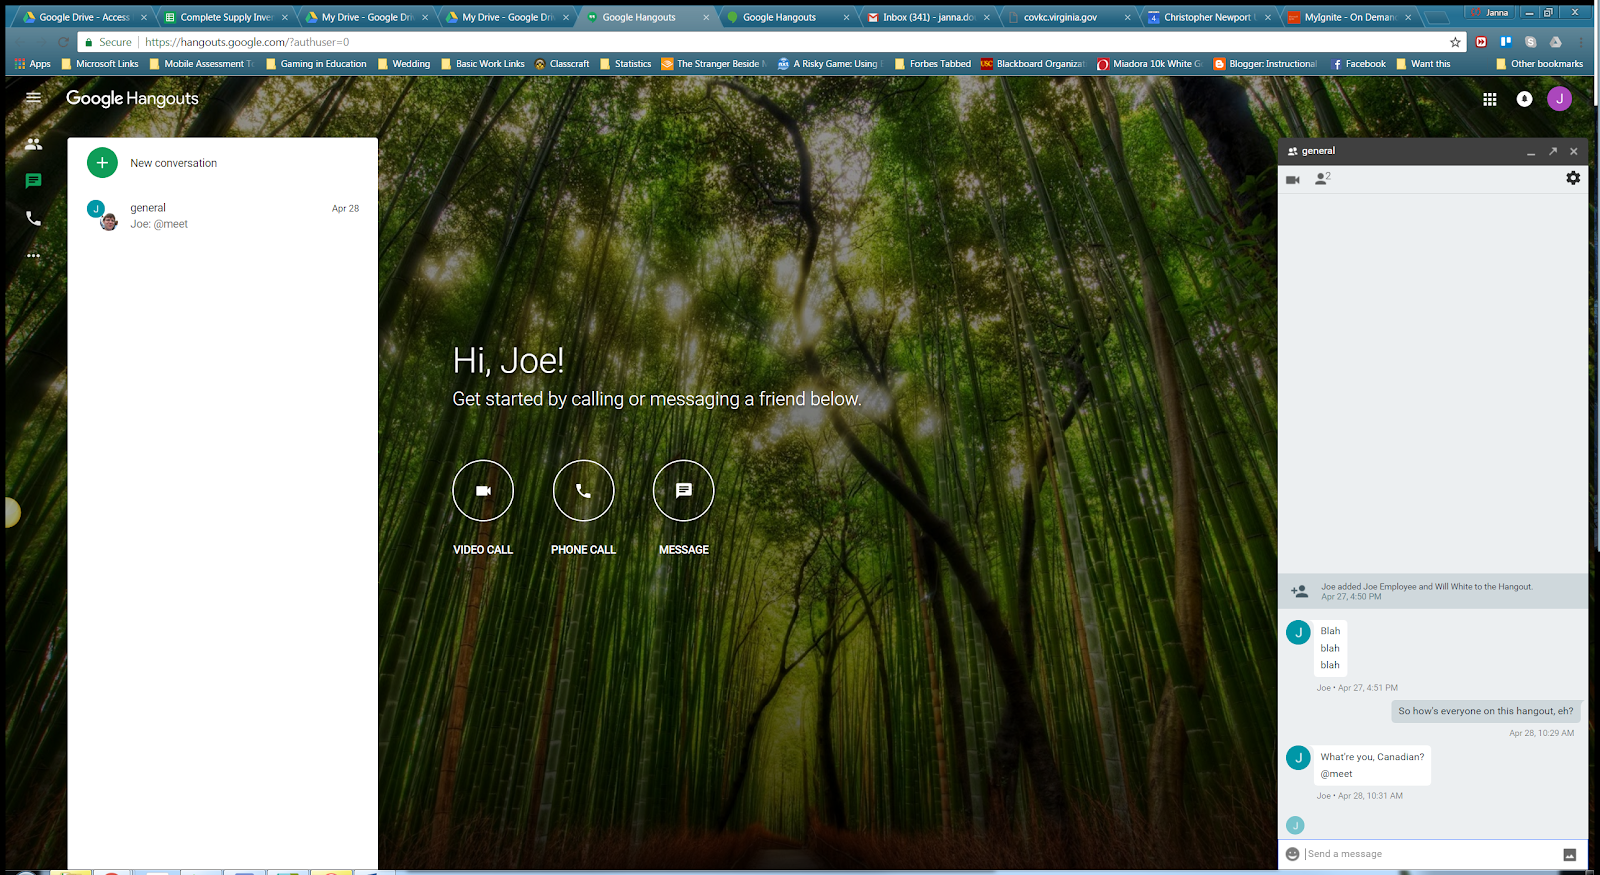
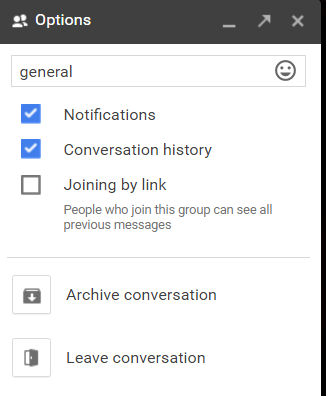
It is possible to create long-term groups with separate conversations for day-to-day contact with coworkers. These groups can be saved in the Conversations window and accessed at any time. You can also set key Conversations to send you notifications when people post messages to them by clicking the gear icon () in the chat window. This will open up a group of settings including notifications and the ability to allow users to join the conversation using a link.
Video calls can be accessed by clicking “Video Call” , which will open up video call Hangouts Meet in a separate tab in your browser. Note: it is recommended that users open video calls in Firefox or Chrome browsers. Using Firefox may require you to install the associated Hangouts plugin before the call can open. This installation is free but may take some time to complete.
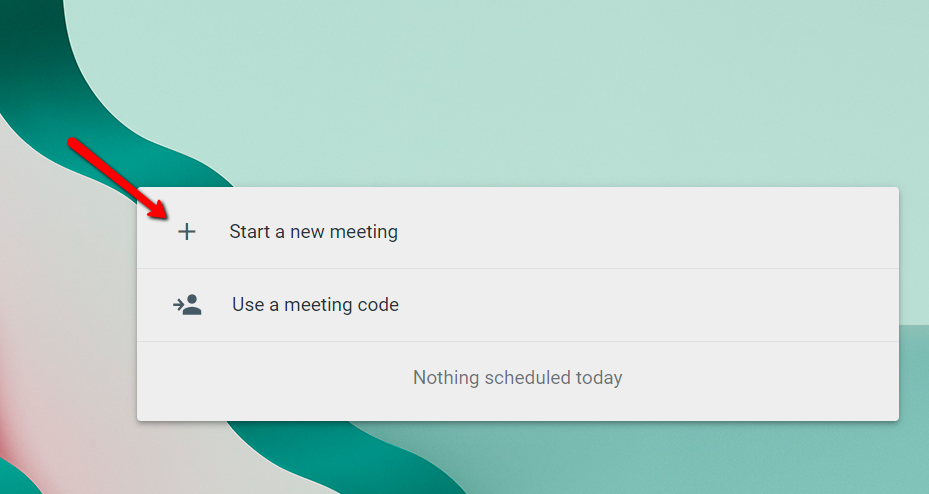
If you were given a meeting code, click “Use a meeting code” and enter it. To start a video call, click on “Start a new meeting”
You’ll next be taken to a preview screen. If you’ve not used Hangouts Meet before, your browser may pop up a notification asking to give Hangouts access to your camera and microphone. Click “Yes” or “Allow”.
On the preview screen, you can mute your microphone or turn off your audio with the buttons in the middle.
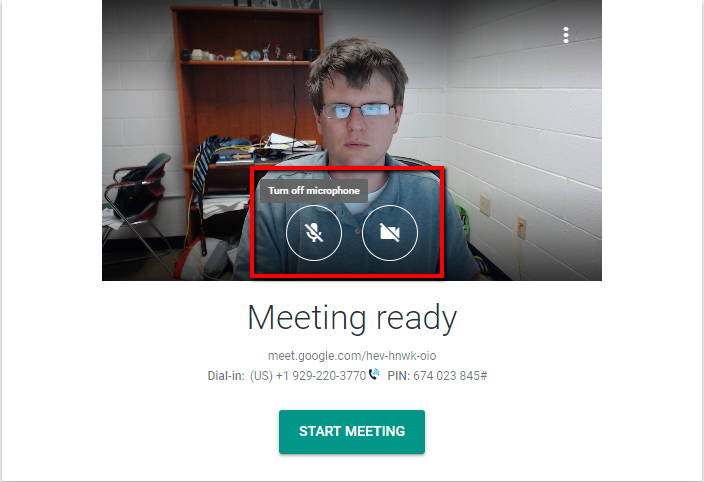
If you’d like to use a different camera, mic or speakers, click the three dots at the top of the picture.
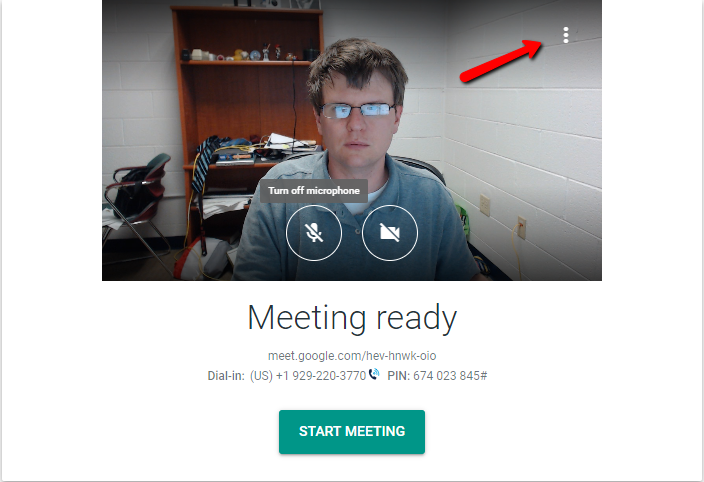
When you’re ready to start, click the large Start Meeting button.
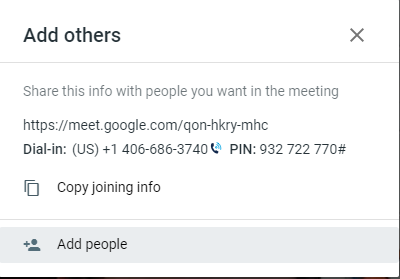
You’ll be taken to the meeting. When you first sign in, a box will pop up asking you to add others. You can give them the link and phone number displayed in the center, click “Copy joining info” to copy that information so that you can paste it in a chat or e-mail, or click Add people to specifically invite others via e-mail.
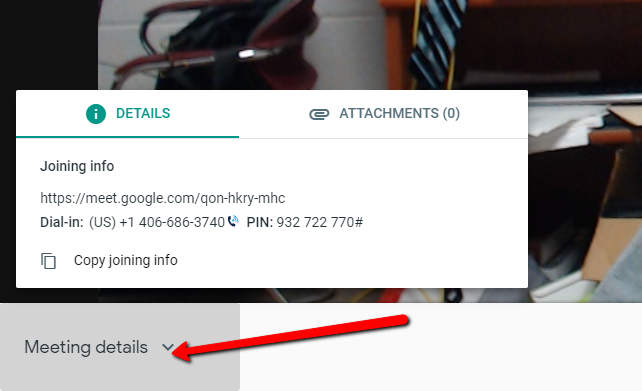
Once you’ve started the meeting, you have several options. To get the link for the meeting again, you can click the Meeting Details button at the bottom left.
You can see who else is in the meeting and take various actions by clicking on the people icon in the top-right corner. It’s important to note that all attendees in the meeting can use these tools. If you want to limit participants’ control over the meeting, you’ll need to use Blackboard Collaborate instead.
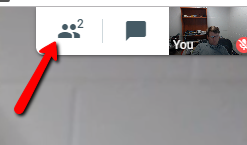
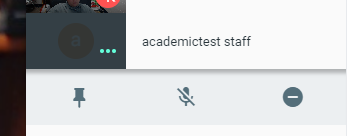
Clicking on that brings up a list of people in the meeting. Click on the person’s name, and you can make them always visible by clicking the pin icon, mute them by clicking the microphone, or remove them from the meeting with the remove icon.
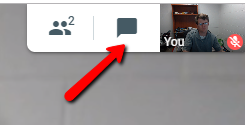
You can also use text chat with people in the meeting. To do so, click the chat icon in the top right corner.
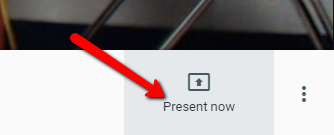
If you’d like to share your screen with participants, click Present Now in the bottom right corner.
You’ll be asked whether you want to present a window or your entire screen. After you choose, your browser will pop up a box asking which screen to share. Select it and click Share (this may vary based on the browser that you’re using.
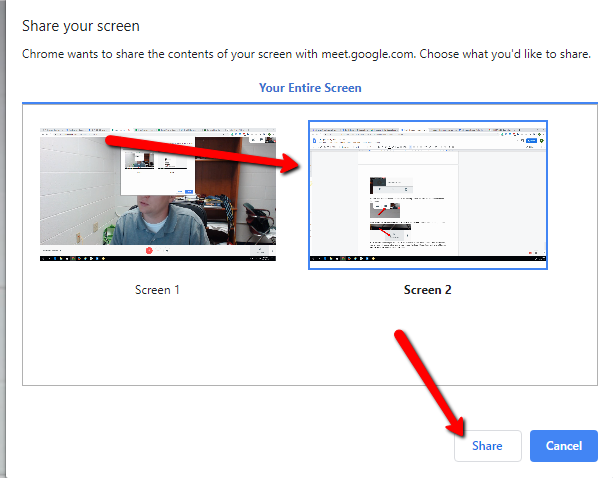
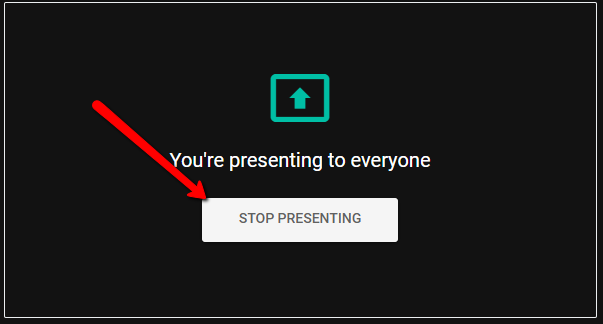
Your screen will display to others, but not you. Click Stop Presenting to stop.
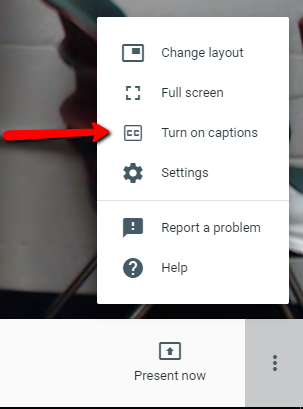
Finally, Google can automatically caption the meeting for participants that have hearing difficulties or are having trouble with their computer audio. These captions aren’t perfect, but they’re fairly accurate. To turn them on, the participant can click the three dots at the bottom right and choose “Turn on captions.”
To leave the meeting, simply close the window.