...
| Page properties | ||||
|---|---|---|---|---|
| ||||
|
Obtaining a Mozilla Backpack Account
NOTE: Mozilla Backpack is an external service not provided or supported by CNU. These instructions are subject to change.
The first step to sharing your badges is to create a Mozilla Backpack account at backpack.openbadges.org. To do so, go there and click Sign Up.
Enter your e-mail address and choose a password, then click Signup.
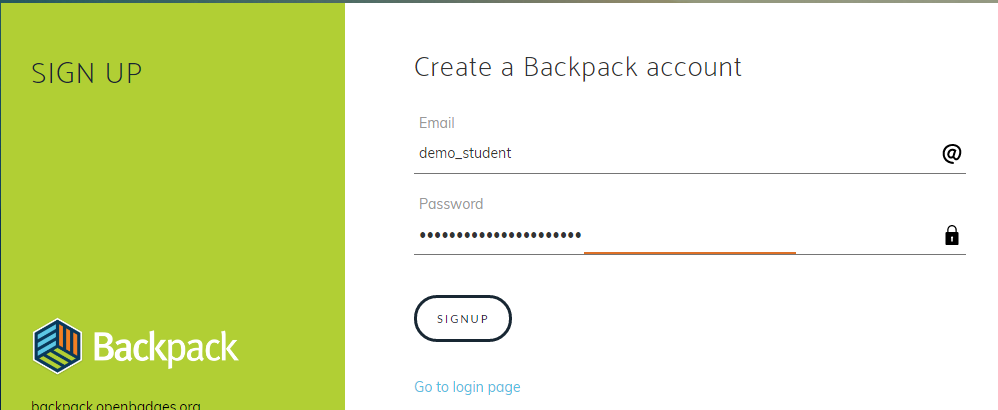
Your account will then be created.
Obtaining Badges
Your instructor will inform you if he or she is issuing badges in the course, and what the requirements are for earning badges in the course. You may receive a badge issued directly by your instructor, or you may get one automatically upon meeting certain requirements.
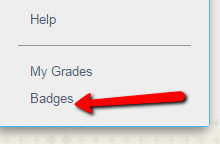
To see the badges available in your course, click the Badges or Achievements link in your course menu. If you do not see this link, and your instructor has stated that the course is using badges, please contact your instructor.
When you click that link, you’ll be brought to the My Achievements page. Here you’ll see all achievements or badges in your course, with the ones that you’ve earned highlighted.
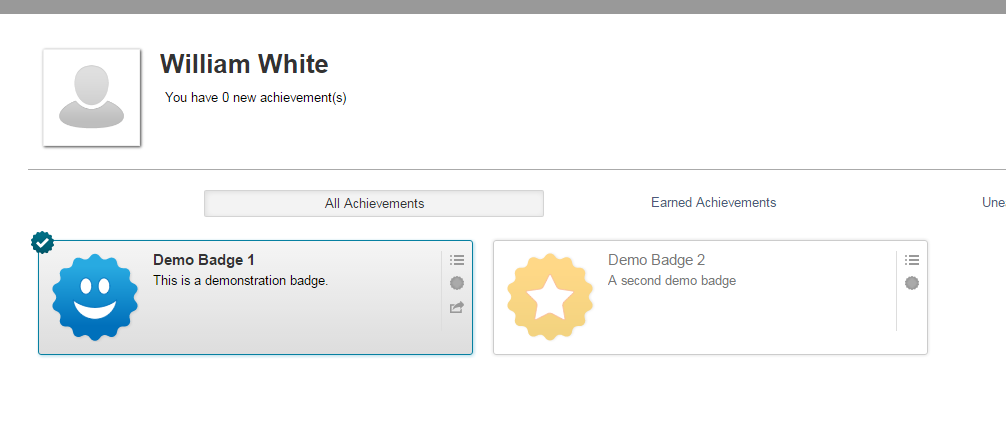
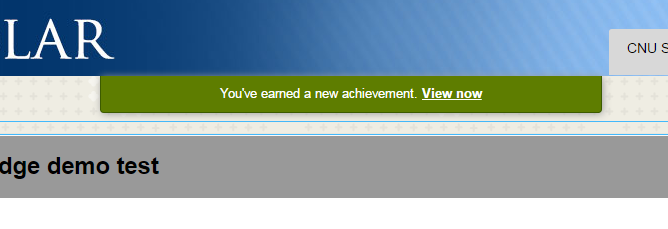
You’ll also be notified with a green box on the top of Scholar when you earn a new badge.
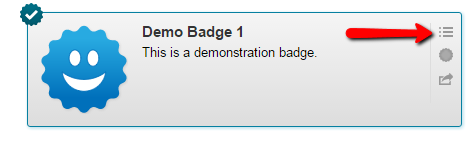
To view why a badge was issued, click on the View Requirements button.
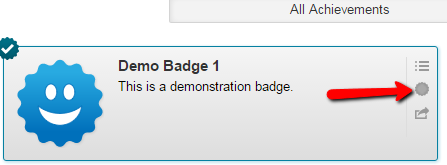
To see what your badge contains, click on the Reward Details button.
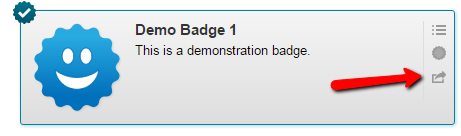
Finally, to publish your badge to the Mozilla Backpack, click on the Publish to Mozilla button.
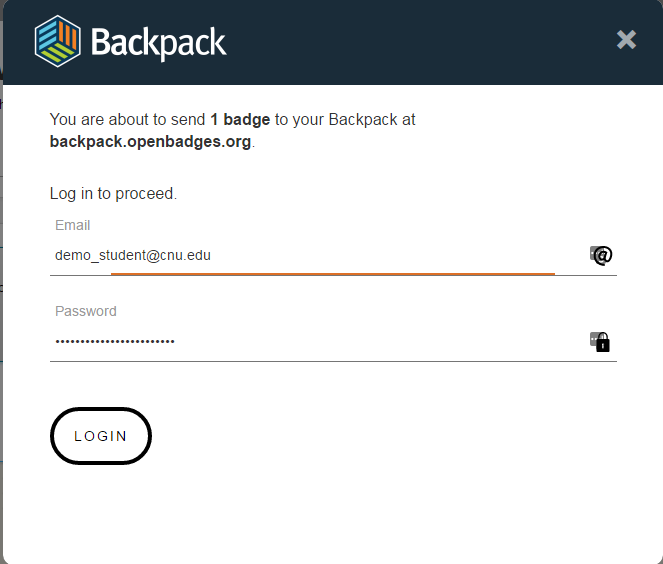
At the screen that pops up, sign in with the e-mail and password you created for Mozilla Backpack.
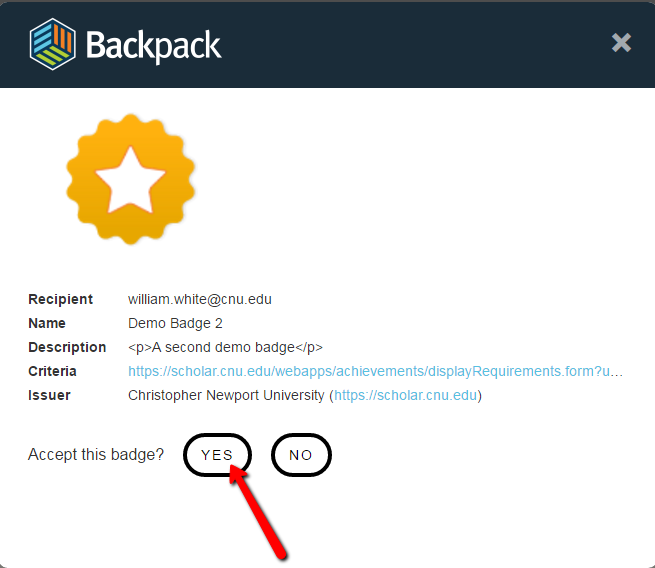
You’ll then be shown the badge and asked whether you want to accept it. Click Yes.
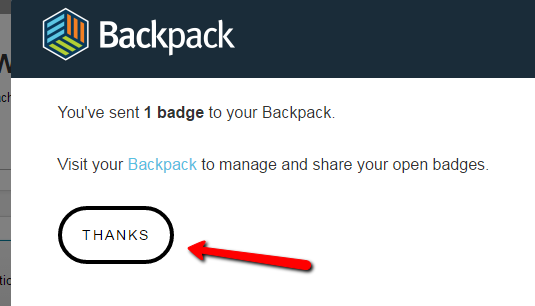
Once you do that, you’ll see a message saying that your badge has been sent to your backpack. Click Thanks to go back to Scholar.
Sharing your Badges
NOTE: Mozilla Backpack is an external service not provided or supported by CNU. These instructions are subject to change.
To share your badges with others, you’ll need to create a collection. To do so, log in to your Backpack at backpack.openbadges.org.
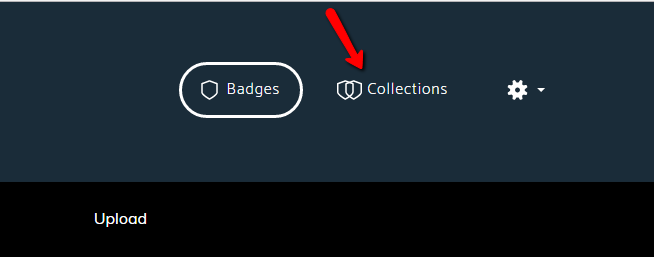
Then, click Collections.
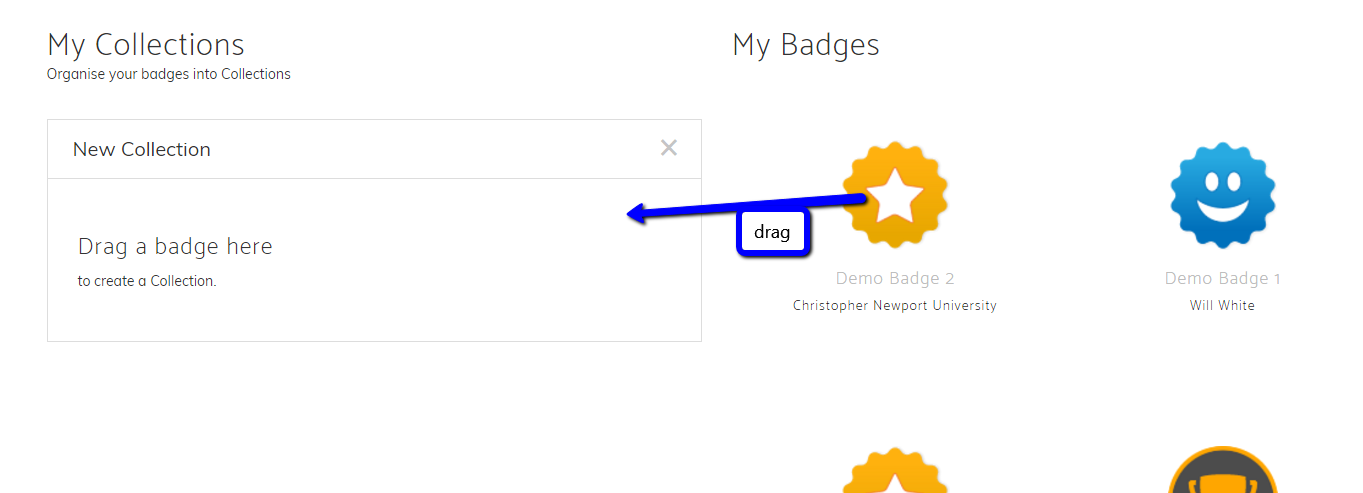
You’ll see your collections on the left, and your badges on the right. Drag one or more badges to a collection to create one.
Click on the name of the collection to rename it.
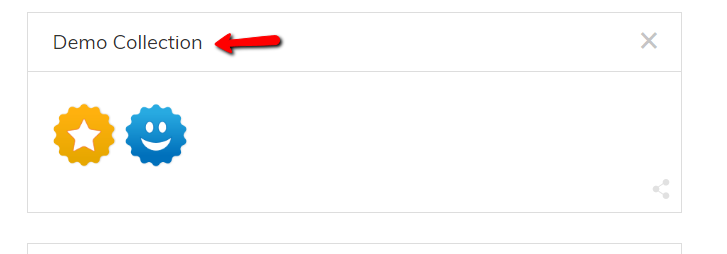
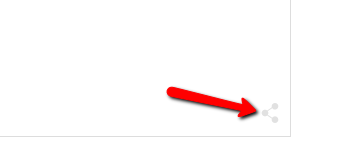
Click the Share button in the corner to share it with others.
When you do, you’ll be taken to the page for the collection. There are two ways to share. First, you can select the address from the address bar in your browser, copy it, and paste it into any site.

If you want to share on Twitter, Google+, Facebook or LinkedIn, you can click the link at the top of the page.
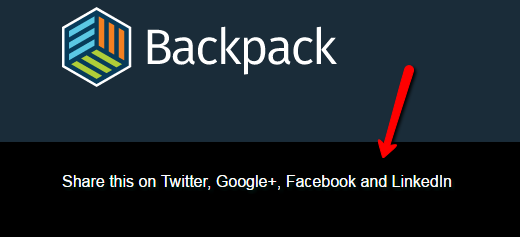
This will bring up share buttons for those services..