...
| Page properties | ||||
|---|---|---|---|---|
| ||||
|
System Requirements
To use Collaborate you need the following things:
...
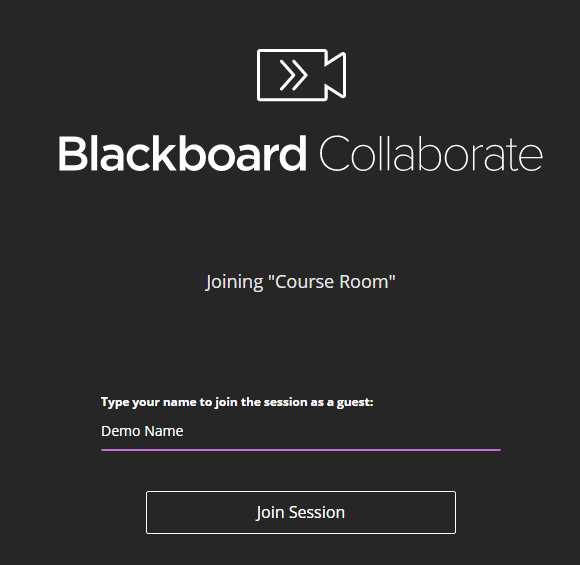
If you’re sent an e-mail with a link to join the Collaborate session, all you need to do is click the link. You’ll be taken to a screen that asks you to enter in your name. Do so and click Join Session.
Scholar Shell
You may also be asked to join a collaborate session within a course shell that you have access to. The owner of the course shell will have to add a link to the Collaborate tool in the course/organization menu. Once they do, click on the link to access the tool (it may be called Online Meetings, Collaborate or something similar).
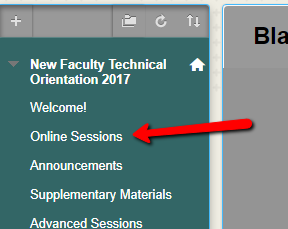
Once there, you’ll see the following screen.
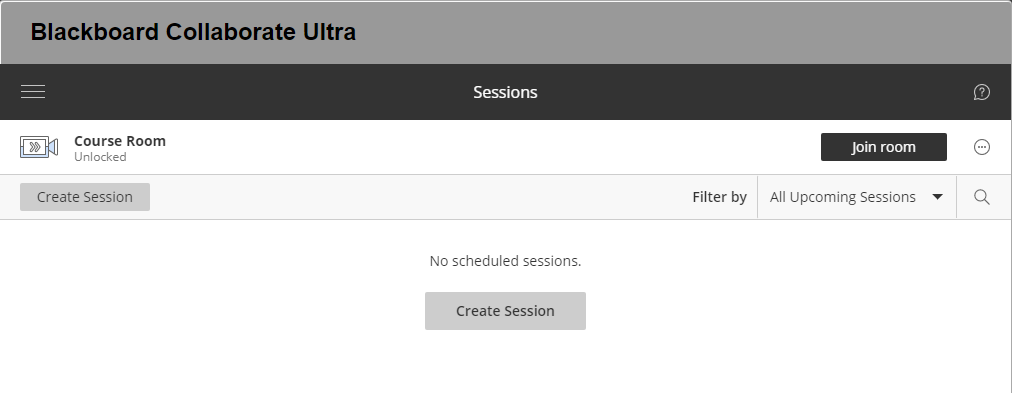
There are two types of Collaborate meeting room that the owner may have created: the Course Room and individual sessions.
If you’ve not been informed of a specific session, click on Join Room to join the Course Room.

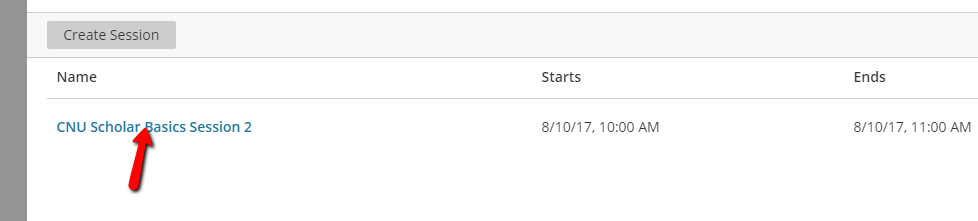
If you have been invited to a session, click the name of the session.
Participating in a Session
...
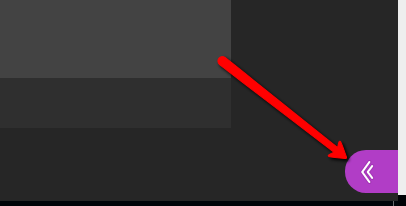
The first time you sign in to Collaborate, you’ll need to set up your webcam and microphone. This will only need to be done once on each computer/web browser that you use to access Collaborate. To do so, click the purple area with the arrow at the bottom-right of your screen.
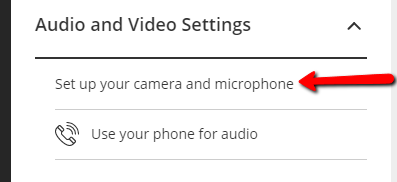
This will bring up the Collaborate Panel. Click the gear icon on the panel to open the settings menu.

From there, click “Set up your camera and microphone”.
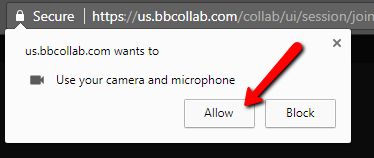
If you’re using Chrome or Firefox, a box will pop up asking whether you want to allow Collaborate to use your camera and microphone. Choose Yes or Allow.
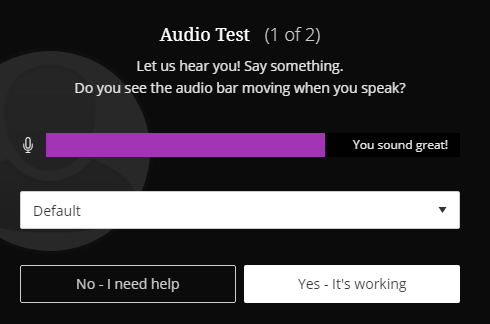
You’ll then see the audio test. You can select the microphone to use with the drop down menu under the purple bar. If you see the purple bar moving, the microphone is picking up sound. Once you’ve got your microphone set properly, click “Yes - It’s working” to continue.
You’ll then be able to access your webcam. Choose the proper camera from the dropdown, and click “Yes - It’s working”.
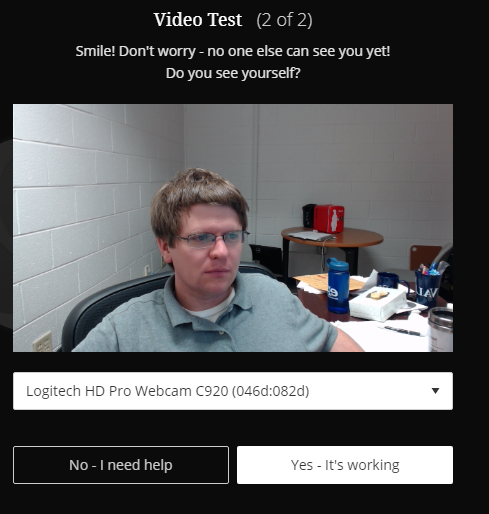
Your camera and microphone will be set up and ready for you to use if/when you need them.
...
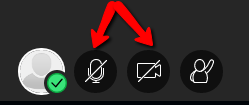
When you sign in to Collaborate, you start muted and with your video off. To turn your mic and/or video on, you can use the links at the bottom of the window.
If you prefer to use your phone for audio, you can do so as well. Open the Collaborate Panel.

Then, click on the settings icon.

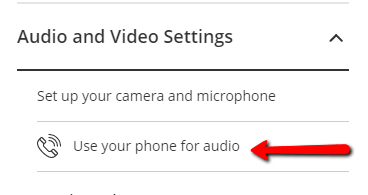
From there, click on Use Your Phone for Audio.
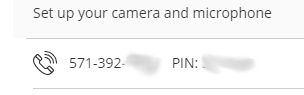
A phone number and PIN will appear so that you can call in.
You may also want to communicate with the presenter or your fellow attendees by chat. To do so, open the Collaborate Panel. Then, click on the chat icon.

You’ll see a chatbox. The main chat is accessible to everyone, and will be visible on the recordings.