NOTE: This article refers to the use of Qwickly Attendance in Scholar Original View courses. For Qwickly Attendance in Ultra courses, refer to the documentation here.
To use Qwickly Attendance, you must first add it to your class. You can add it to the course menu by clicking the plus sign at the top of the menu and choosing "Tool Link".

Give the link a name (e.g. "Attendance") and choose Qwickly Attendance 2019+ from the "Type" dropdown. If you want students to be able to check themselves in or see their attendance record, check Available to Users. Students will use this link to check in and view their own attendance record, but WILL NOT be able to see other students' attendance or change their own.

Once the link appears, you can click on it to begin the setup process.
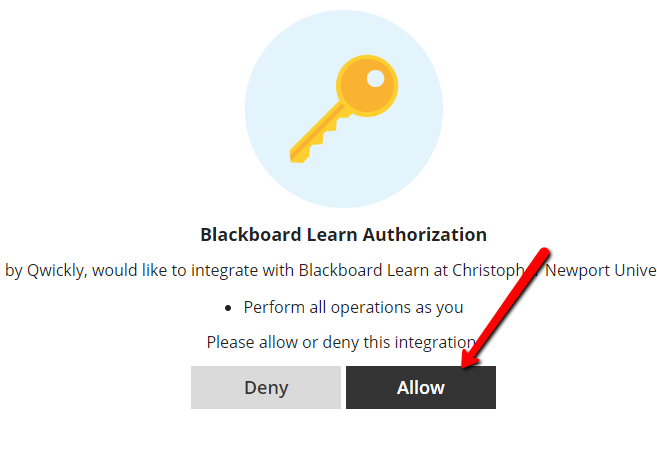
The first time you access Qwickly Attendance, you’ll see a warning about linking it to your Blackboard account. It uses this access to pull your student lists and return attendance grades. It is safe (and required) to click Allow.
First, click “Begin Set-Up”.
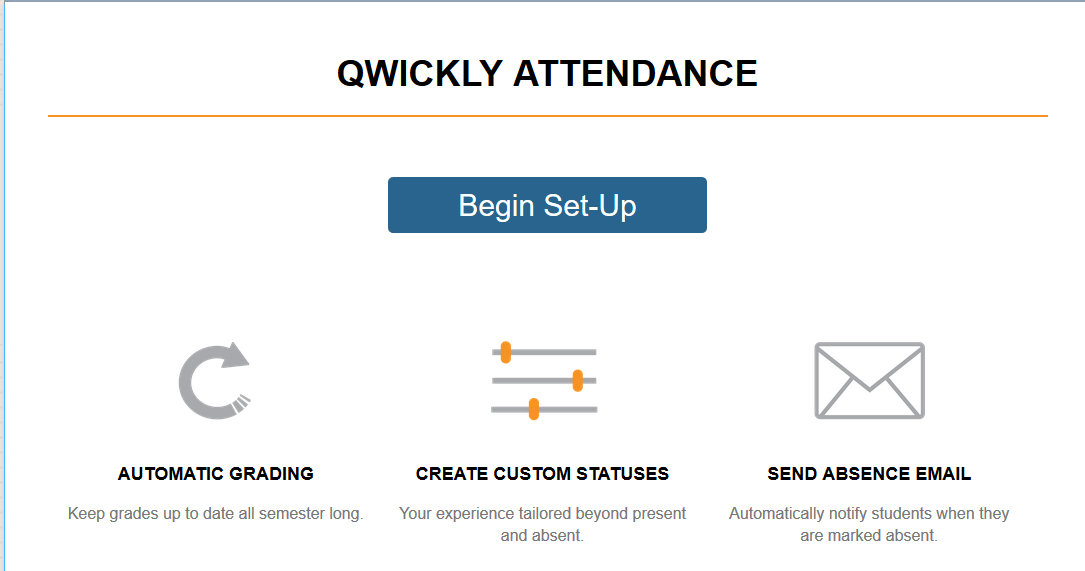
You'll then be taken to the Settings page.
Preferences (how Things Look)
The first tab on the page is the Preferences page. Here, you can set how you want the attendance list sorted. You can also control whether to show the number of absences that a student has to you while you're taking attendance.

You can control whether grades are rounded to a whole number of points. You can also make students that have dropped have their attendance records visible by checking "Show Unavailable and Disabled students in record". We don't generally recommend doing that, as it can create confusion.

If you have a merged class, you MUST make sure that Student Grouping is "By Course Section". If you don't, you will not be able to take attendance by individual section. Generally, you won't want "By Course Groups" unless you have created groups in Scholar and want to use them for attendance. This setting will not be visible in a non-merged course.

If you want to use check-in, you can choose whether to have a random PIN display to the student when they check in. There is an option for a QR code check-in, but the University doesn't license that, so DO NOT SELECT QR CODE CHECKIN.

Attendance Statuses
The next tab allows you to control what statuses are available to assign to students. You can remove built-in statuses with the toggles next to them.

If you want to create your own attendance status, you can fill in the information about the status.

- Order controls where in the list it falls
- Name is what it's called in the list
- Points controls how much of an attended day it counts as in the grade.
- Absence controls how much on an absence is given each time the status is recorded for a student (for example, you could assign a tardy as half an absence).
- Finally, you need to click in the color area to choose a color for the status in the attendance record.
Here's what it looks like filled out:

If you need more than one extra status, click Add Status at the bottom.
Automatic E-mails
If you'd like the system to send an e-mail each time you mark a student absent, you can check "Send email on absence" to do so.

You can edit the text in the text box at the bottom.

Grading
Qwickly Attendance can automatically add an attendance grade to your Grade Center. Click on the Grading tab to set up the options.

You can add one of two types of attendance grade:
- Session Grading, which allows you to grant points for either every session attended, or grant an overall grade based on the percentage of sessions attended
- Absence Grading which allows you to give (or more likely take away) points each time a student is absent.
Session Grading
To do Session Grading, check the Session Based Grading Column box.

You then have the choice of how you want the grade to be calculated. It can either be:
- Total Points, where you set a total point value for the entire semester's attendance, and it calculates the grade based on the percentage of sessions attended. For example, if a student attends half the classes, they get half the points
- Points Per Session, where you set a number of points each session is worth, and both the total points and points possible are updated each session.
You'll then need to set the column name, and either the total points for the column or the points for each session in the boxes below the buttons. ONLY make changes to these here in the Qwickly settings. If you edit the Grade Center column, you can cause unpredictable behavior.

Absence Grading
To grade based on absences, check "Absence Based Grading Column."

You can enter a starting number of points in the "Total Column Points" box.
Enter a number of points per absence. To take points away for an absence (which is probably what you want to do), enter a negative number for Points Per Absence.
Finishing Up
When you're all done, click on "Save Settings"

You can then take attendance by following the instructions in our article.