This article is about archiving an Original view Scholar course. For saving copies of Ultra courses for later use, refer to the documentation on exporting and importing here.
Occasionally, you may want to save the structure and content of a course. This article covers archiving courses, which involves saving all course content, student submissions and grades. If you would like to save only the content and structure of a course (for example, to use that information in another semester), you should see the article on exporting courses.
Creating an Archive
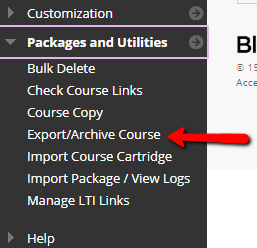
To archive your course, choose Export/Archive Course from the Packages and Utilities menu.
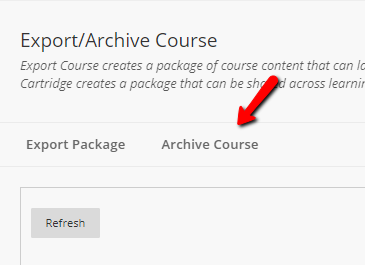
On the screen that comes up, click the Archive Course button.
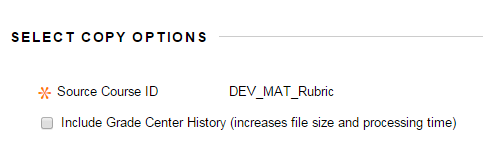
You’ll then be brought to the Archive Course screen. The first option is whether or not to include the Grade Center History. The Grade Center History is a record of every change to a grade. As all student submissions and effective grades will be preserved regardless of this setting, you can usually leave the box unchecked.
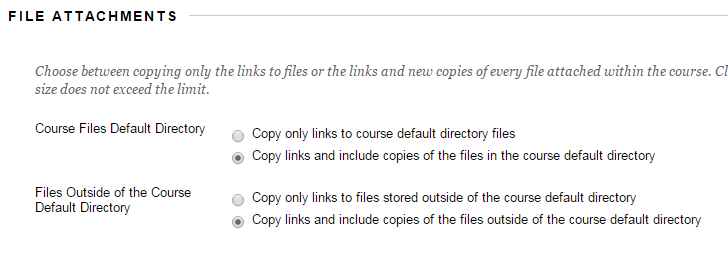
Below that, you’ll see options for how to treat files in your course, as well as files in other areas of Scholar that you linked to in your course. Since this is an archive, we recommend clicking “Copy links and include copies of the files” for both internal and external materials. This will ensure that all of your course materials are accessible when you restore the archive, even if other things have changed.
When you have the settings the way that you want them, click the Submit button.
You will get a message, in a green bar at the top of your page, informing you that you will receive an email when the process is complete. This may take some time. After you receive that email you can return to the Export/Archive Course page. This time you will see a file on the page.
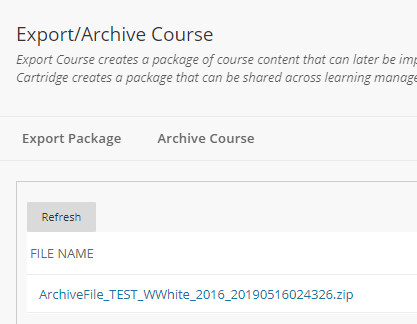
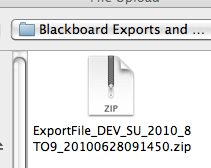
This is the Blackboard zip file you should save for future use.
Click directly on the file name, and you will be prompted to save your download. Do not open or unzip this file or you will not be able to restore it. As Safari automatically unzips zipped files, you should use Chrome or Firefox to download these files.
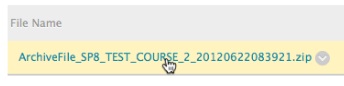
Save the download in a folder on your computer.
Restoring your Course
Archived files should not be restored to courses that have regular students in them. To get materials out of your archive, you should contact ITS to request a development shell be created to restore your archive into.
If you’re comfortable providing the archive to ITS, staff can restore the archive directly for you.
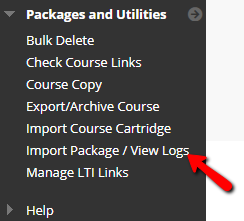
If you’d prefer to restore the archive yourself, you can do so by clicking on Import Package/View Logs in the Packages and Utilities menu of the destination course.
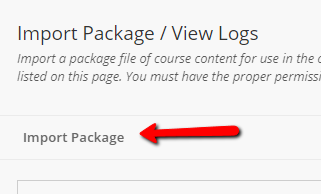
You’ll then be brought to the Import Package/View Logs screen. Click Import Package.
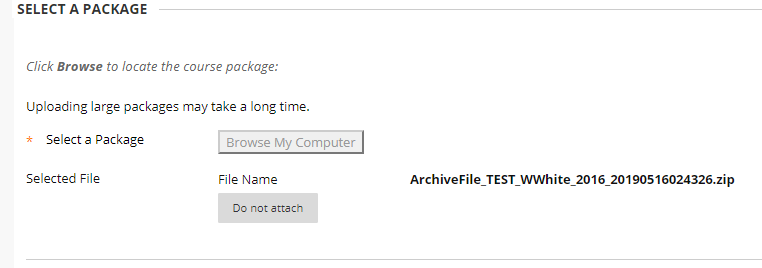
Use the browse button to find the zip file on your computer and select that file.
The file should then be listed under the browse button.
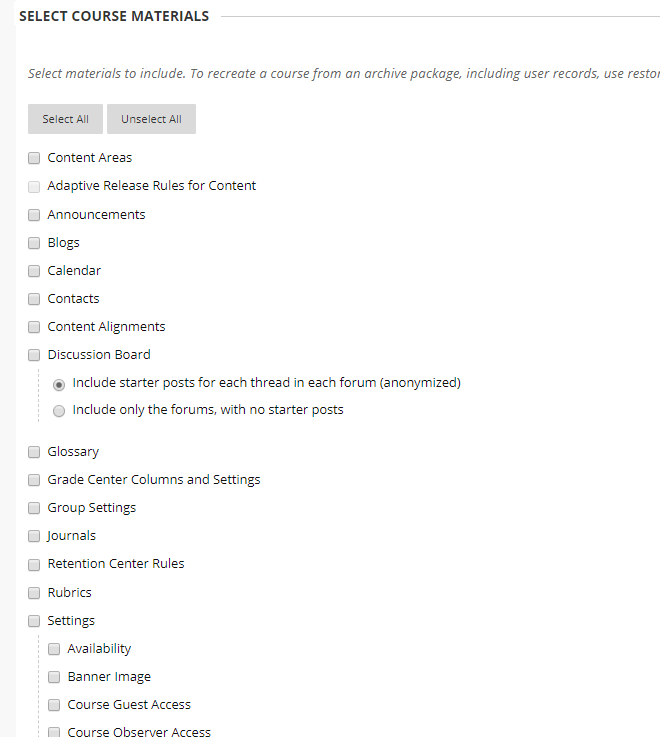
Select the areas of the package you wish to import into the new course shell.
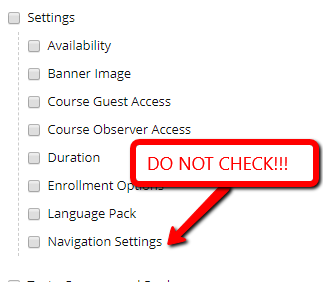
If you’re importing an archive from before May 2019, it’s very important that you UNCHECK NAVIGATION SETTINGS. Failure to do so may cause your course to be stuck on the old theme and look out of place with the rest of the system.
Click "Submit" to place the import into your queue. Once the import is complete, you should be able to enter your new course and access its contents.