Requesting VPN Access
The first step is to request VPN access using the form provided on the VPN at CNU page. Fill out the form and get your supervisor to sign it. Make sure “Remote Access to Desktop” is checked. Then, have your supervisor forward the form to the CIO by fax at 594-7500 or by campus mail at 121 Ratcliffe. Once VPN access is granted, you will have access to the VPN software. To set up and access the VPN for other reasons, see the page titled "Set Up and Use VPN Access–MacOS".
Preparing your Work Computer for Remote Connections
To be able to use the VPN to connect using these instructions, and you will need to have your desktop set up to allow incoming connections. Your computer will have to remain on campus and be turned on. Please keep in mind that the VPN software used at CNU will only allow you to connect to a Windows computer.
You will also need to record your work computer's name. To determine your computer’s name, click on the start menu, left-click on the Windows icon at the bottom left of the screen and select the Settings Icon.

On the Control Panel that pops up, select System, then About.


The resulting screen will have the device name listed.

Write down the full computer name and take it home with you. You’ll need this information to connect to your computer later.
You will also have to ensure that your computer does not go to sleep. To do so, return to the Control Panel and select Power and Sleep from the System sidebar.

You’ll see the window below pop up. Change the setting for “PC Goes to Sleep” under “Plugged in” to Never. If you don’t see that setting, you don’t need to do anything.

When you’re ready to leave for the day, make sure not to shut down your computer. Simply log out:

Install Microsoft Remote Desktop Client
Once you have the VPN software installed (See the "Set Up and Use VPN Access–MacOS" document for guidance on installation), you will also need to install the Remote Desktop software on your computer.
Christopher Newport University-Owned Computers
If your computer is owned by Christopher Newport University, you can install everything you need through the Self-Service portal. Click on the Christopher Newport University Self Service Portal in your Applications menu or Launchpad.
Then, log in with your regular ID number and password.

Find the entries in Self-Service for Microsoft Remote Desktop, and click Install.

Personal Computers
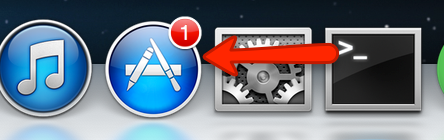
To install the Remote Desktop app on a personal computer, Click the “App Store” link on your computer.
In the search box, search for Microsoft Remote Desktop and click on Microsoft Remote Desktop

Click on the “Get” at the right, then “Install ”.


Then enter your Apple ID (NOT your CNU credentials) and password into the box. The app will then install.

Setting Up GlobalProtect
If GlobalProtect is not already running, launch Global Protect from Launchpad.

A Connect button should come up. If it doesn't, click the globe icon in your notifications area.

Then click Connect.

Enter your ID number and password. Then click Sign In.

You'll be prompted by the Duo app on your phone to approve the sign-in
The Global Protect icon will look like ![]() if you’re successful.
if you’re successful.
Setting up the Remote Desktop Client
To set up the connection, open Microsoft Remote Desktop.

Then, click the plus sign and click "Add PC".

On the screen that pops up, enter your computer's name from the earlier step.

Click Add at the bottom and you're ready to connect.
Connecting to your Work Computer (from your Home Computer)
First, you need to ensure that you are connected to GlobalProtect. To do so, click the globe icon in your notifications area.
Then click Connect, if you are not already connected.
Enter your ID number and password. Then click Sign In.
When you first log in, you may receive a prompt to confirm your security credentials via DUO Two-Factor Authentication. To set up DUO, see the article titled "DUO Two-Factor Authentication Client Setup". If you have already set up DUO on your mobile device, you will receive a notification of your login request.


open the DUO application on your device and open the login request. Select Approve to allow the VPN to complete the connection. 

The Global Protect icon will look like ![]() if you’re successful.
if you’re successful.
Open Microsoft Remote Desktop
Double-click on the connection that you set up.

A box will pop up asking you to sign in. Sign in with your ID number and password.

If you get a certificate warning, just click Continue.

You will then be connected to your computer. After signing in, you’ll be taken to your desktop as if you were sitting at your work computer.

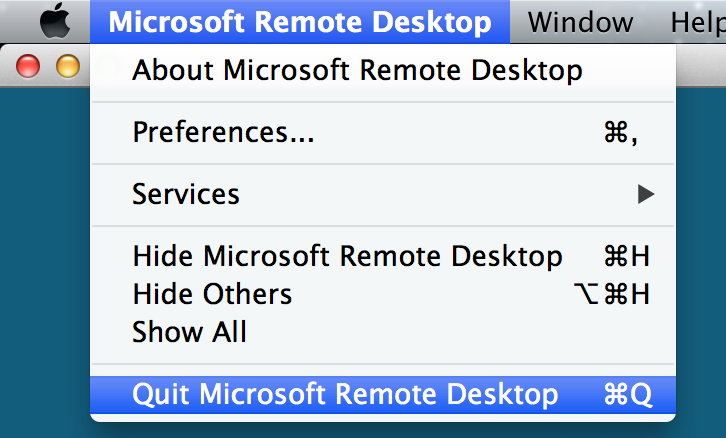
To sign out, choose “Disconnect” from the start menu in your remote window.

Then exit the remote desktop program.